Email Templates
Email templating allows you to prepare and reuse email content efficiently. Create templates once, then reference them when sending to ensure consistent branding and messaging across all your emails.
Why Use Templates
Templates provide several benefits:
- Consistency: Ensure brand consistency across all emails
- Efficiency: Define content once, reuse many times
- Maintainability: Update content in one place
- Personalization: Use Handlebars for dynamic content
- Separation of concerns: Keep email content separate from application logic
Managing Templates
You can manage templates in two ways:
- Templates API: Programmatically create, update, and delete templates
- Admin Interface: Visual interface at Email Templates in the side menu
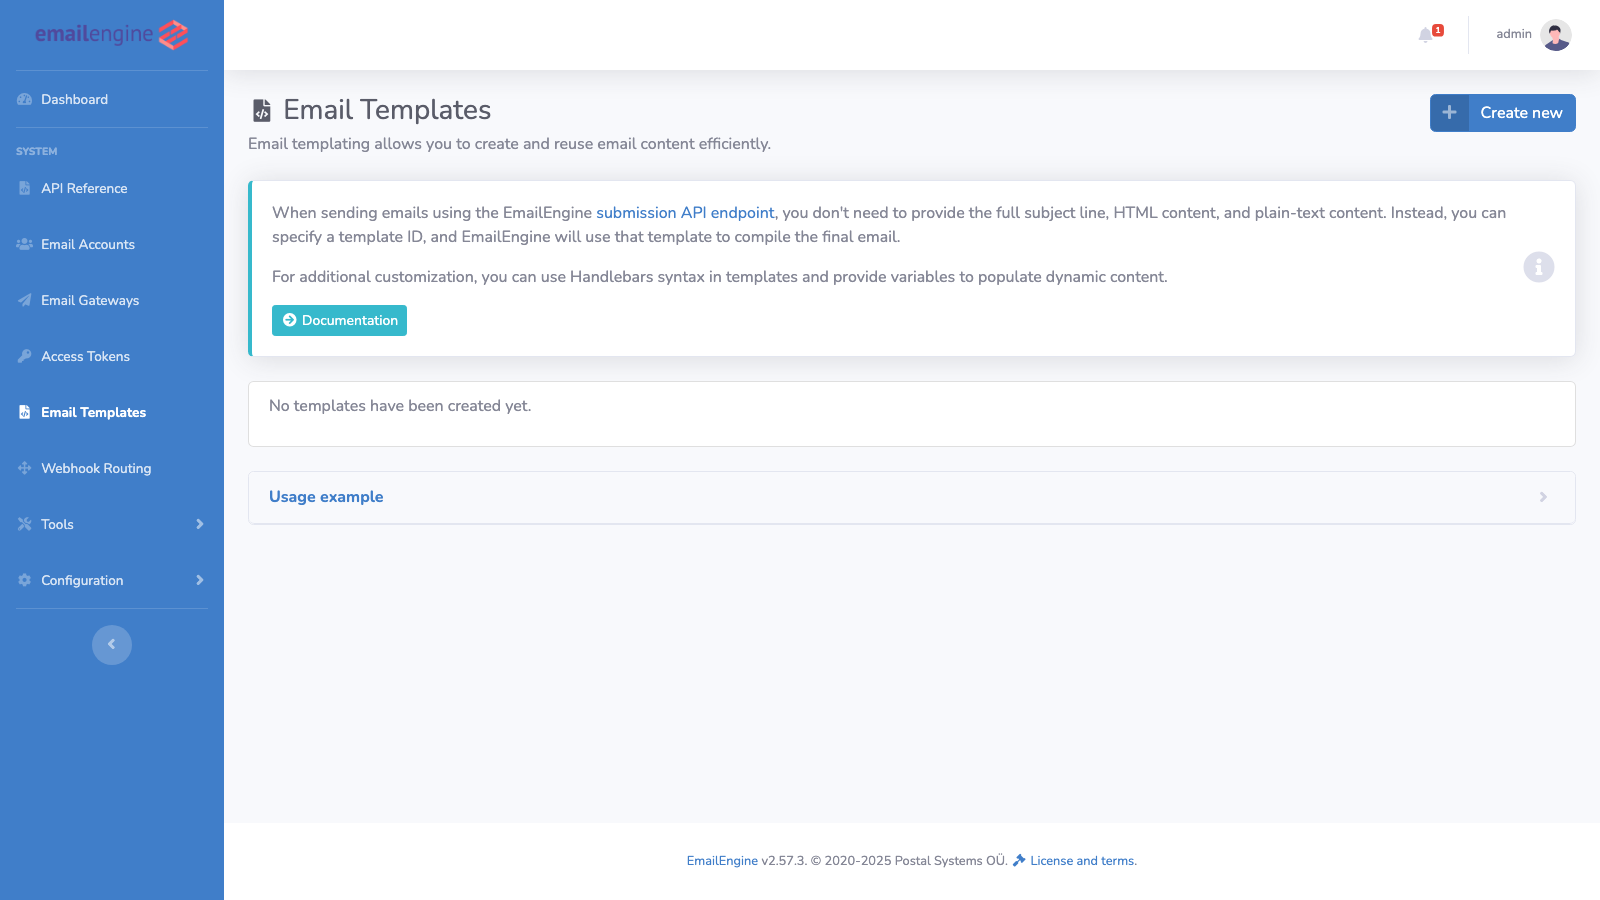 Email templates list in the admin interface
 Template editor showing Handlebars syntax and fields
Creating Templates
Via API
Create a template using the create template API:
curl -XPOST "https://ee.example.com/v1/templates/template" \
  -H "Authorization: Bearer <token>" \
  -H "Content-Type: application/json" \
  -d '{
    "account": "example",
    "name": "Welcome Email",
    "description": "Welcome new users to the platform",
    "content": {
      "subject": "Welcome to {{params.companyName}}!",
      "text": "Hello {{params.firstName}},\n\nWelcome to {{params.companyName}}!",
      "html": "<h1>Hello {{params.firstName}}</h1><p>Welcome to <strong>{{params.companyName}}</strong>!</p>"
    }
  }'
Response:
{
  "created": true,
  "account": "example",
  "id": "AAABgUIbuG0AAAAE"
}
Save the id value to reference this template when sending.
Via Admin Interface
- Navigate to Email templates in the EmailEngine UI
- Click Create Template
- Fill in template details:
- Name: Template identifier (required)
- Description: What this template is for (optional)
- Subject: Email subject with optional Handlebars
- Text: Plain text version with optional Handlebars
- HTML: HTML version with optional Handlebars
- Click Save
The template page offers a "Send test email" action so you can check the rendered output in a real mailbox.
Using Templates
Basic Usage
When sending emails using the Submission API, set the template property instead of subject, html, or text:
curl -XPOST "https://ee.example.com/v1/account/example/submit" \
  -H "Authorization: Bearer <token>" \
  -H "Content-Type: application/json" \
  -d '{
    "to": [
      {
        "name": "Recipient Name",
        "address": "recipient@example.com"
      }
    ],
    "template": "AAABgUIbuG0AAAAE",
    "render": {
      "params": {
        "firstName": "Alice",
        "companyName": "Acme Corp"
      }
    }
  }'
EmailEngine loads the template and renders it with your provided params.
With Other Properties
You can include any other valid submission properties:
curl -XPOST "https://ee.example.com/v1/account/example/submit" \
  -H "Authorization: Bearer <token>" \
  -H "Content-Type: application/json" \
  -d '{
    "to": [{ "address": "recipient@example.com" }],
    "template": "AAABgUIbuG0AAAAE",
    "render": {
      "params": {
        "firstName": "Alice",
        "companyName": "Acme Corp"
      }
    },
    "replyTo": { "address": "support@example.com" },
    "attachments": [
      {
        "filename": "welcome.pdf",
        "content": "base64-encoded-content"
      }
    ]
  }'
Template Syntax
Templates use Handlebars for dynamic content. EmailEngine extends Handlebars with additional helpers compatible with SendGrid's dynamic templates, making migration between platforms straightforward.
Variables
Insert variables using double or triple braces:
- Double braces
{{...}}: HTML-escape the value in HTML content (html,previewText,markdown); plain-text fields (subject,text) are rendered without escaping, so double braces are always safe there - Triple braces
{{{...}}}: No escaping - only needed in HTML content when you want to inject raw HTML
Built-in Variables
EmailEngine provides built-in variables:
Available variables:
{{account.email}}- Sender's email address{{account.name}}- Sender's display name{{service.url}}- EmailEngine instance URL{{params.*}}- Any custom parameters you provide
Conditionals
Use if/else for conditional content:
Loops
Iterate over arrays with each:
With data:
{
  "params": {
    "items": [
      { "name": "Product A", "price": "29.99" },
      { "name": "Product B", "price": "39.99" }
    ],
    "total": "69.98"
  }
}
Basic Helpers
Common built-in Handlebars helpers:
SendGrid-Compatible Helpers
EmailEngine provides additional helpers that are compatible with SendGrid's dynamic templates. These helpers enable advanced templating capabilities for comparisons, date formatting, and default values.
Comparison Helpers
equals
Check if two values are equal. Uses loose equality (==) for automatic type coercion.
notEquals
Check if two values are not equal. Uses loose inequality (!=) for automatic type coercion.
greaterThan
Check if the first numeric value is greater than the second.
lessThan
Check if the first numeric value is less than the second.
Logical Helpers
and
Renders content only when all conditions are true. Accepts multiple arguments.
or
Renders content when at least one condition is true. Accepts multiple arguments.
Value Helpers
insert
Insert a value with an optional default if the value is missing or empty.
If params.firstName is empty or undefined, displays "Customer" instead.
length
Get the length of an array. Useful in conditionals to check if an array has items.
Date Formatting
formatDate
Format dates using Moment.js format tokens. Accepts an optional timezone offset.
Syntax: {{formatDate timestamp format [timezoneOffset]}}
Common format tokens:
| Token | Output | Example |
|---|---|---|
YYYY | 4-digit year | 2025 |
YY | 2-digit year | 25 |
MMMM | Full month name | January |
MMM | Short month name | Jan |
MM | Month number (padded) | 01 |
DD | Day of month (padded) | 05 |
D | Day of month | 5 |
dddd | Full weekday name | Monday |
ddd | Short weekday name | Mon |
HH | Hour (24h, padded) | 14 |
hh | Hour (12h, padded) | 02 |
h | Hour (12h) | 2 |
mm | Minutes (padded) | 05 |
ss | Seconds (padded) | 09 |
A | AM/PM | PM |
a | am/pm | pm |
ZZ | Timezone offset | +0000 |
Examples:
Iteration Helpers
each with Special Variables
When iterating over arrays, you have access to special variables:
| Variable | Description |
|---|---|
{{@index}} | Zero-based index of the current item |
{{@first}} | True if this is the first item |
{{@last}} | True if this is the last item |
{{this}} | The current item value |
Root Context Access
Access top-level variables from within nested blocks using @root:
Helpers Quick Reference
| Helper | Purpose | Example |
|---|---|---|
{{#if}} | Conditional rendering | {{#if params.active}}...{{/if}} |
{{#unless}} | Inverse conditional | {{#unless params.disabled}}...{{/unless}} |
{{#each}} | Iterate over arrays | {{#each params.items}}...{{/each}} |
{{#with}} | Change context | {{#with params.user}}...{{/with}} |
{{#equals}} | Equality check | {{#equals a b}}...{{/equals}} |
{{#notEquals}} | Inequality check | {{#notEquals a b}}...{{/notEquals}} |
{{#greaterThan}} | Numeric greater than | {{#greaterThan a b}}...{{/greaterThan}} |
{{#lessThan}} | Numeric less than | {{#lessThan a b}}...{{/lessThan}} |
{{#and}} | All conditions true | {{#and a b c}}...{{/and}} |
{{#or}} | Any condition true | {{#or a b c}}...{{/or}} |
{{insert}} | Value with default | {{insert var "default=fallback"}} |
{{length}} | Array length | {{length params.items}} |
{{formatDate}} | Format dates | {{formatDate date "MMM D, YYYY"}} |
Template Examples
Welcome Email
Order Confirmation
Password Reset
Template Management
List All Templates
Retrieve all templates using the list templates API:
curl "https://ee.example.com/v1/templates?account=example" \
  -H "Authorization: Bearer <token>"
Response:
{
  "account": "example",
  "total": 2,
  "page": 0,
  "pages": 1,
  "templates": [
    {
      "id": "AAABgUIbuG0AAAAE",
      "name": "Welcome Email",
      "description": "Welcome new users",
      "format": "html",
      "created": "2025-05-14T10:00:00.000Z",
      "updated": "2025-05-14T12:00:00.000Z"
    },
    {
      "id": "AAABgUIbuG0AAAAF",
      "name": "Order Confirmation",
      "description": "Confirm orders",
      "format": "html",
      "created": "2025-05-14T11:00:00.000Z",
      "updated": "2025-05-14T11:00:00.000Z"
    }
  ]
}
Get Template Details
Use the get template API:
curl "https://ee.example.com/v1/templates/template/AAABgUIbuG0AAAAE" \
  -H "Authorization: Bearer <token>"
Response:
{
  "account": "example",
  "id": "AAABgUIbuG0AAAAE",
  "name": "Welcome Email",
  "description": "Welcome new users to the platform",
  "format": "html",
  "created": "2025-05-14T10:00:00.000Z",
  "updated": "2025-05-14T12:00:00.000Z",
  "content": {
    "subject": "Welcome to {{params.companyName}}!",
    "text": "Hello {{params.firstName}}...",
    "html": "<h1>Hello {{params.firstName}}</h1>..."
  }
}
Update Template
Use the update template API:
curl -XPUT "https://ee.example.com/v1/templates/template/AAABgUIbuG0AAAAE" \
  -H "Authorization: Bearer <token>" \
  -H "Content-Type: application/json" \
  -d '{
    "content": {
      "subject": "Welcome to {{params.companyName}}, {{params.firstName}}!",
      "text": "Hello {{params.firstName}}...",
      "html": "<h1>Updated content</h1>"
    }
  }'
Top-level fields (name, description, format) are merged - include only the ones you want to change. The content object is different: when provided, it replaces the stored content entirely, so resubmit all content fields (subject, text, html, previewText) - any field you omit is removed from the template.
Delete Template
Use the delete template API:
curl -XDELETE "https://ee.example.com/v1/templates/template/AAABgUIbuG0AAAAE" \
  -H "Authorization: Bearer <token>"
Using Templates with Mail Merge
Templates work great with mail merge for bulk personalized sending:
curl -XPOST "https://ee.example.com/v1/account/example/submit" \
  -H "Authorization: Bearer <token>" \
  -H "Content-Type: application/json" \
  -d '{
    "template": "AAABgUIbuG0AAAAE",
    "mailMerge": [
      {
        "to": { "name": "Alice", "address": "alice@example.com" },
        "params": {
          "firstName": "Alice",
          "companyName": "Acme Corp",
          "isPremium": true
        }
      },
      {
        "to": { "name": "Bob", "address": "bob@example.com" },
        "params": {
          "firstName": "Bob",
          "companyName": "Acme Corp",
          "isPremium": false
        }
      }
    ]
  }'
Each recipient gets a personalized email based on their params.