Deploy EmailEngine on Render.com
Render runs EmailEngine as a Node.js web service with a managed Redis instance next to it. The EmailEngine repository ships a Render blueprint, render.yaml, that provisions both, so the whole deployment can be done from the Render dashboard without a shell.

The button creates the two services described in the blueprint below and generates EENGINE_SECRET for you.
Costs: two paid services, one web service and one Redis instance. Render revises its plans, so read the current figures on Render's pricing page rather than budgeting from a number quoted here.
What the Blueprint Provisions
render.yaml in the EmailEngine repository declares the following. The values are the ones the file carries at v2.82.0; the file itself is the reference if the two differ.
Web service emailengine:
| Setting | Value | Notes |
|---|---|---|
| Runtime | node | Builds from the GitHub repository |
| Plan | pro (standard for preview environments) | Pick the size from Render's current plan list; see System Requirements for what EmailEngine needs |
| Instances | 1 | EmailEngine does not support more than one instance per Redis database |
| Build command | npm install --omit=dev | |
| Pre-deploy command | ./update-info.sh | Records the build version shown in the dashboard |
| Start command | npm start | |
| Auto-deploy | off | A push to the repository does not redeploy the service |
| Health check path | not set | /health is present in the file but commented out; see Health Checks |
Redis instance ee-redis:
| Setting | Value | Notes |
|---|---|---|
| Plan | standard | |
maxmemoryPolicy | noeviction | Required. Under the Render default, allkeys-lru, Redis silently drops EmailEngine's data when memory runs out |
ipAllowList | empty | Reachable only from services in the same Render account |
Environment variables set on the web service:
| Key | Value | Notes |
|---|---|---|
EENGINE_REDIS | connection string of ee-redis | Filled in by Render from the Redis service |
EENGINE_SECRET | generated | A new value is generated each time the blueprint creates the service; see Backup |
EENGINE_WORKERS | 2 | IMAP worker threads |
EENGINE_TIMEOUT | 30s | How long an IMAP command may take before the API request is aborted |
EENGINE_HOST | 0.0.0.0 | Render reaches the service over the container network, so it must not bind to localhost |
EENGINE_API_PROXY | 1 | Render terminates TLS and forwards X-Forwarded-For; this makes EmailEngine read the client address from it |
EENGINE_MAX_SIZE | 25M | Largest attachment accepted on submit and upload |
Every variable is described in Environment Variables.
Manual Setup
The same deployment can be assembled by hand. The screenshots below are from an earlier Render dashboard; the labels have moved since, the settings have not.
Step 1: Create the Redis Instance
-
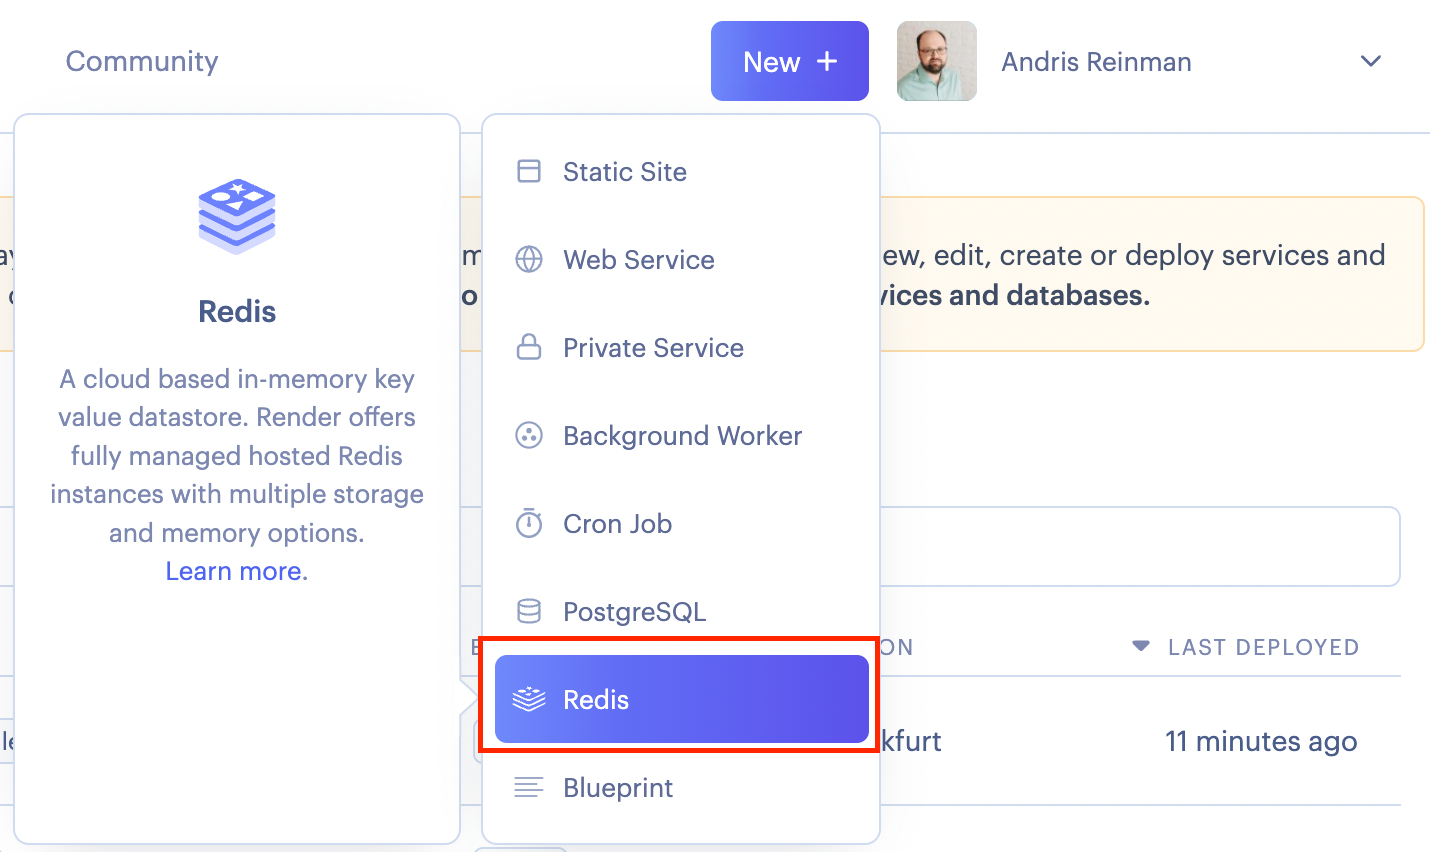
Log in at dashboard.render.com and choose New > Redis
-
Configure it:
Setting Value Name emailengine-redis, or any nameRegion The region the web service will use Maxmemory policy noeviction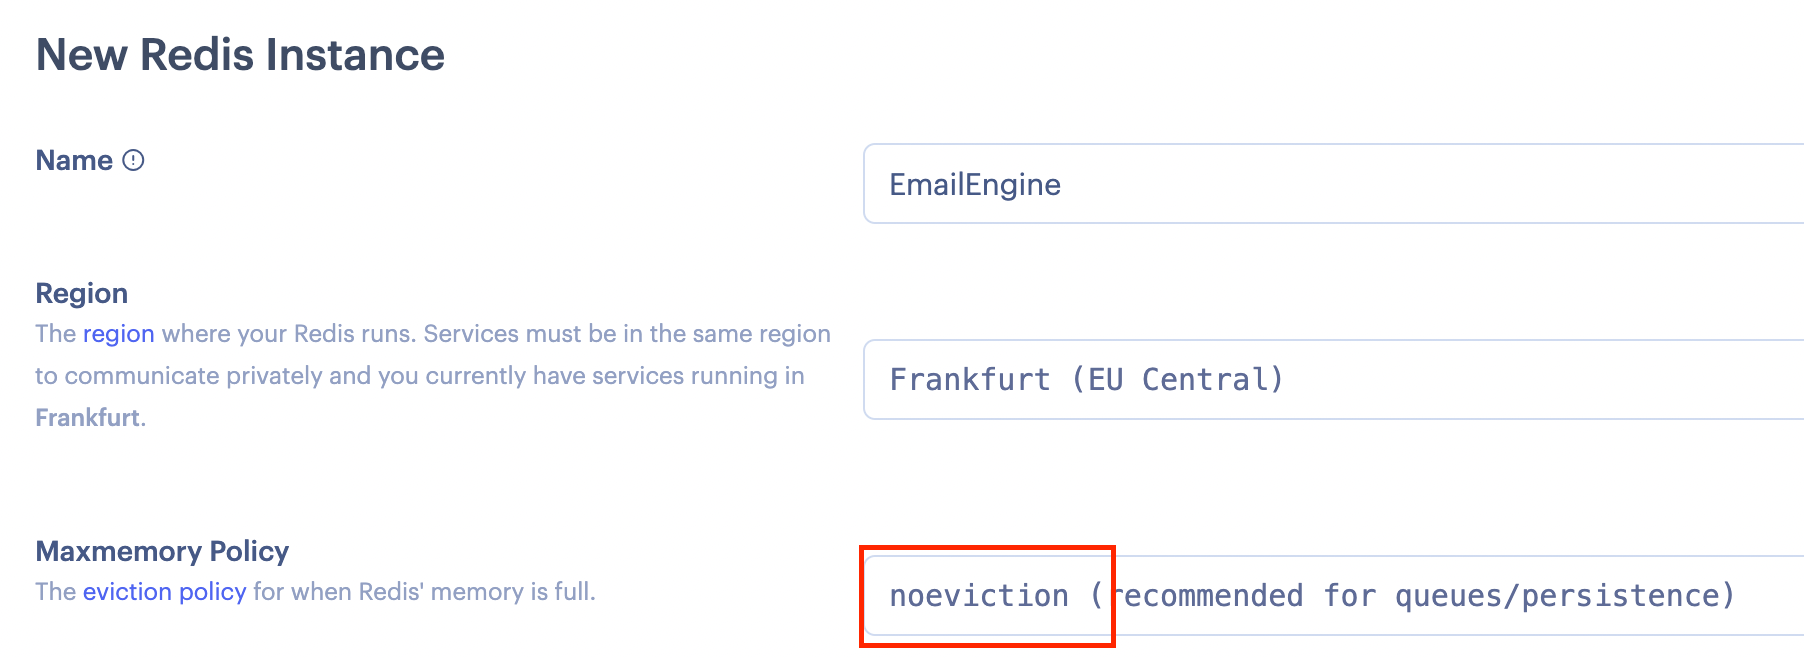
-
Create it, wait for it to start, and copy the Internal Connection String from its info page. It has the form
redis://red-xxxxxxxx:6379.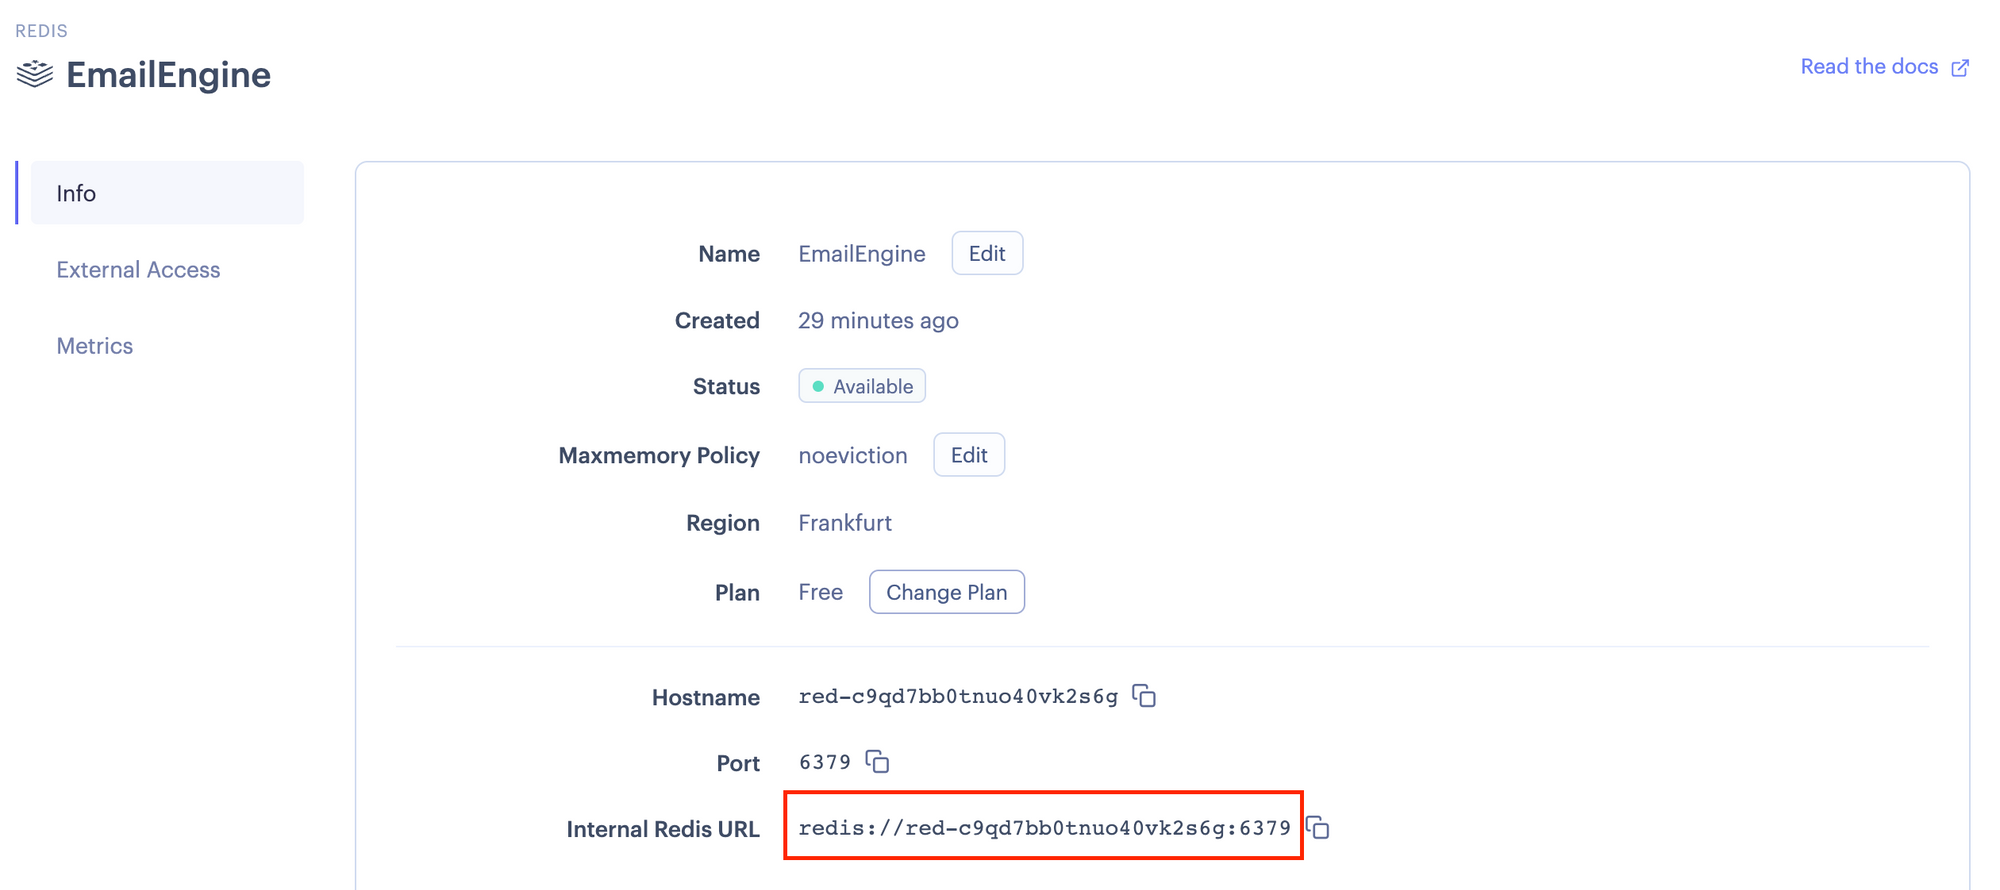
The internal connection string keeps Redis traffic inside Render's network. The external string is only needed for a connection from outside Render, such as the backup below.
Step 2: Create the Web Service
-
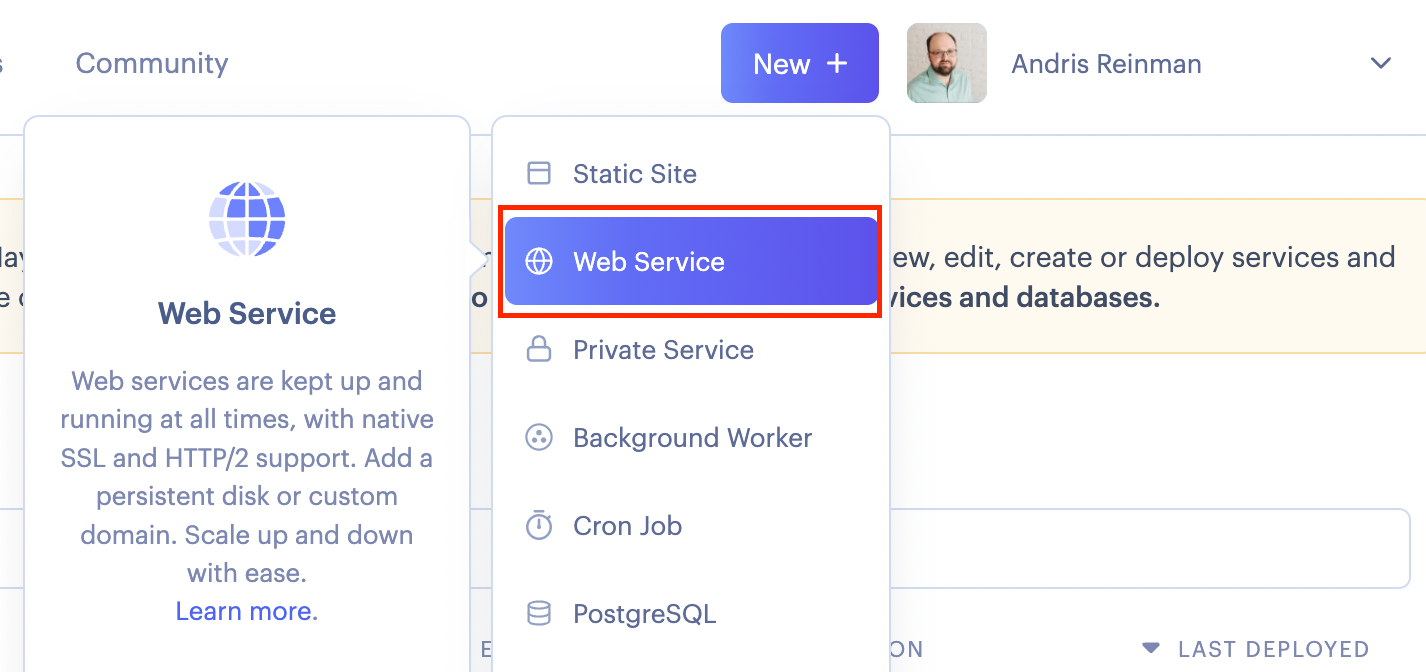
Choose New > Web Service
-
Point it at the public repository
https://github.com/postalsys/emailengine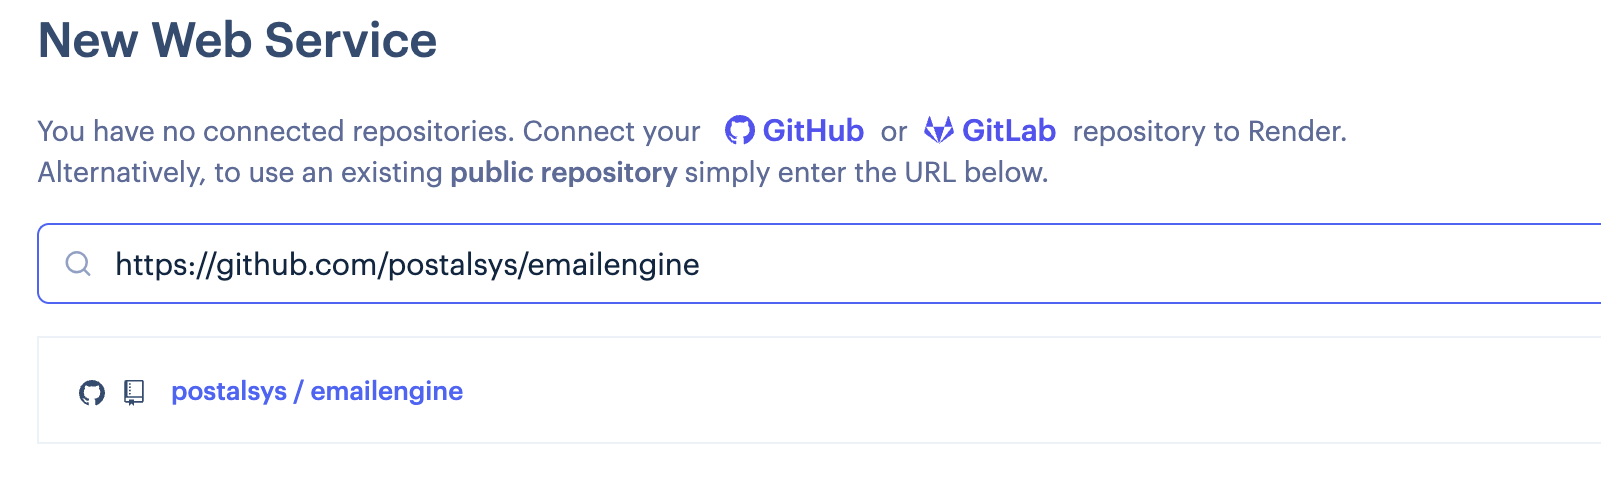
-
Configure it:
Setting Value Name emailengine, or any nameRegion Same as the Redis instance Branch master, or a release tag such asv2.82.0Runtime Node Build command npm install --omit=devStart command npm start -
Add the environment variables from the blueprint table. Paste the Redis internal connection string as
EENGINE_REDISand generateEENGINE_SECRETyourself:openssl rand -hex 32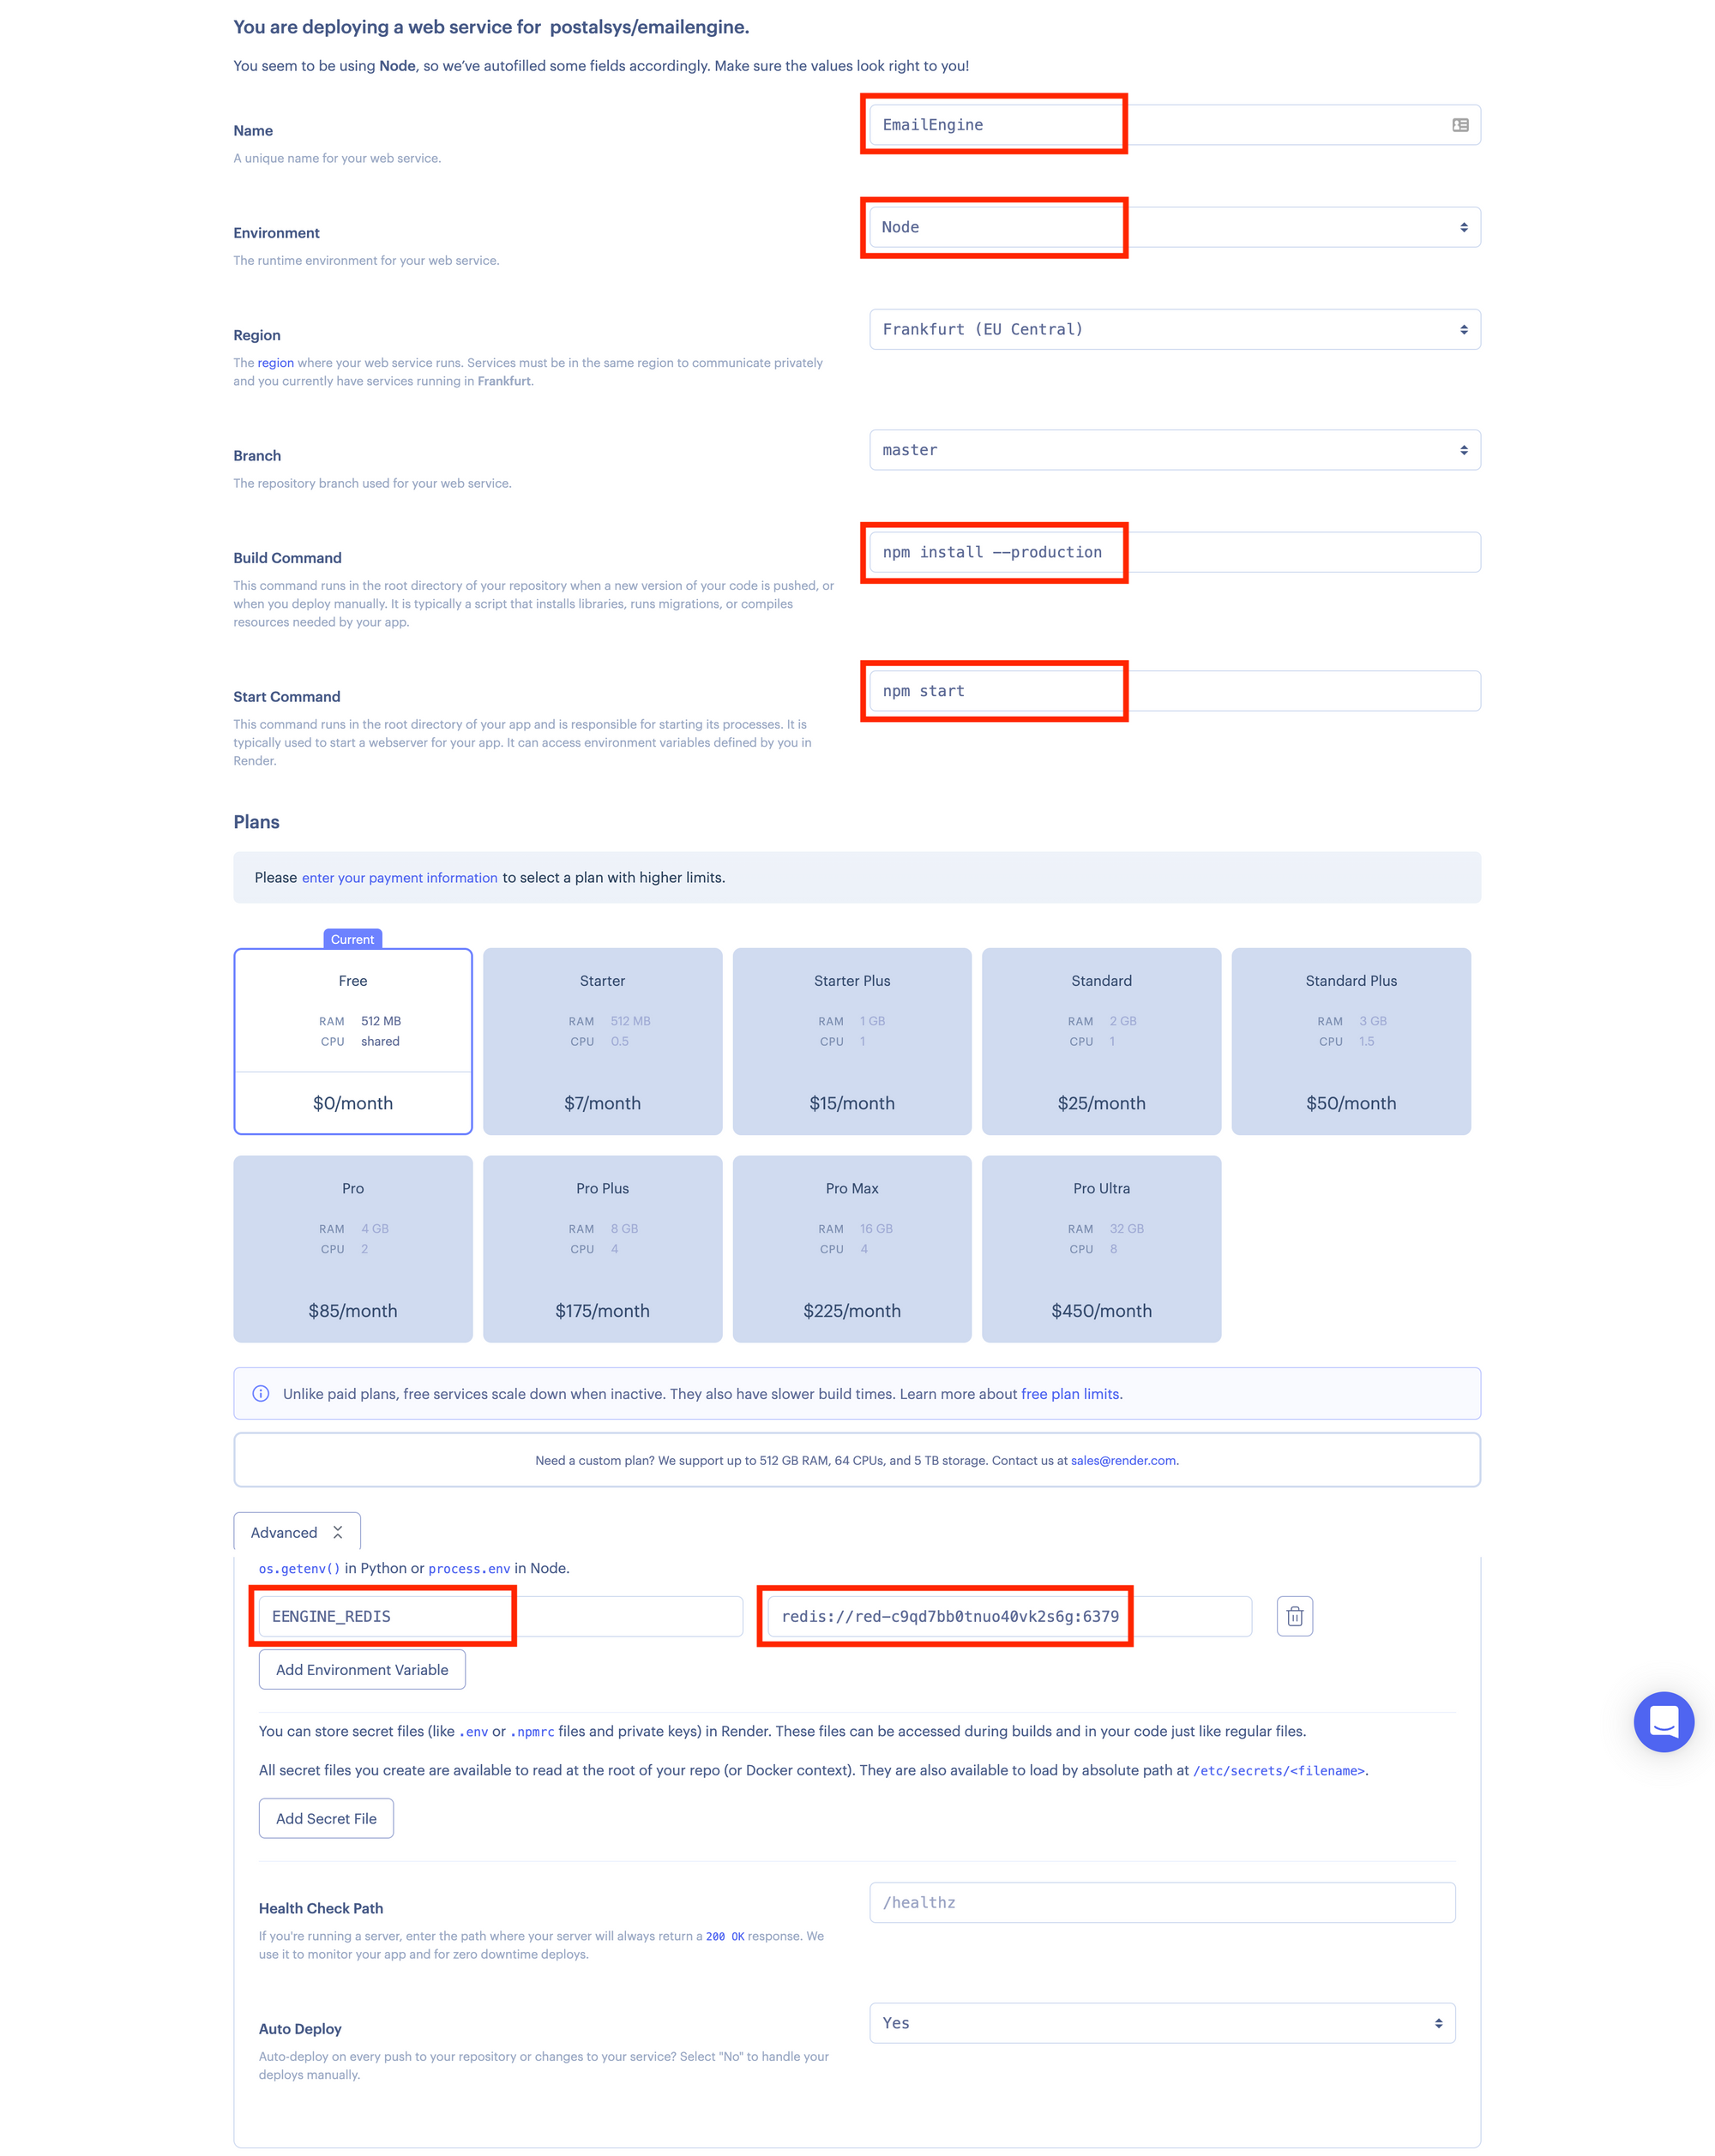
-
Create the service
Step 3: Wait for the Deployment
The first deploy clones the repository, installs dependencies and starts the service. The Logs tab shows progress; the service is up once this line appears:
{"level":30,"msg":"Started API server thread","port":3000,"host":"0.0.0.0"}
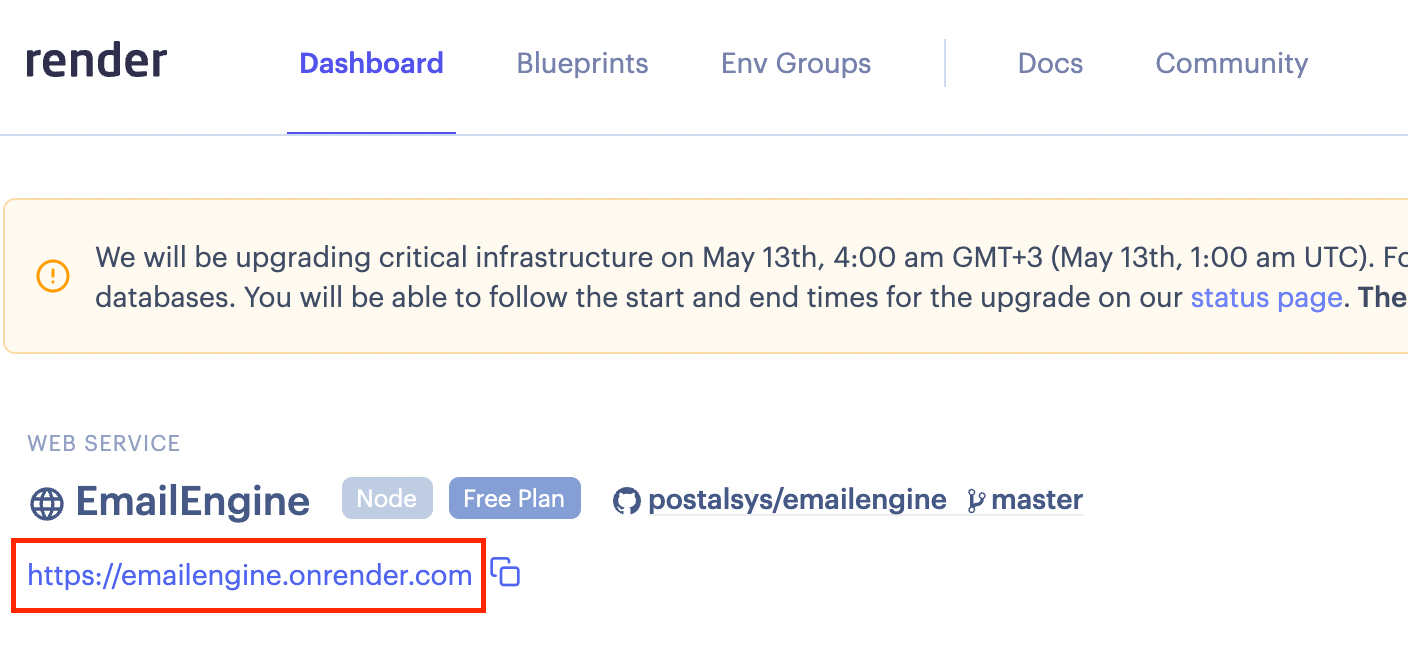
The service URL, https://<name>.onrender.com, is shown at the top of the service page. Opening it shows the EmailEngine admin interface.
After the First Deploy
Three things are not part of the blueprint and are done in the admin interface once it is up:
- Set an admin password. Until one is set, the admin interface opens without a login, and it refuses to issue access tokens. Open Account > Security from the username menu in the top-right corner, or set
EENGINE_PREPARED_PASSWORDas described in Prepared Admin Password - Set the Service URL under Configuration > General to the public URL of the service. OAuth2 callbacks, hosted authentication forms and passkeys are all built from it
- Add the license under Configuration > License, or pass it as
EENGINE_PREPARED_LICENSE. Without one the instance runs on the trial
Custom Domain
- Open Settings > Custom Domains on the web service and add the domain
- Create the DNS record Render shows, a
CNAMEpointing at theonrender.comhostname - Render provisions the certificate once the record resolves
Update the Service URL in EmailEngine afterwards, since OAuth2 redirect URLs registered at Google or Microsoft carry the hostname.
Changing Environment Variables
Edit them on the Environment tab. Saving redeploys the service. Two are commonly added after the first deploy:
# License key, pasted as one line
EENGINE_PREPARED_LICENSE="<your-encoded-license>"

# Settings applied at startup, as JSON. This one turns on webhook delivery for every event
EENGINE_SETTINGS='{"webhooks":"https://your-app.example.com/webhooks","webhookEvents":["*"],"webhooksEnabled":true}'
OAuth2 applications and webhook targets are settings rather than individual environment variables: configure them in the admin interface, through the settings API, or through EENGINE_SETTINGS as above. See Prepared Settings.
Health Checks
EmailEngine serves GET /health without authentication. It returns {"success":true} when every configured IMAP worker thread is running and a Redis write-read-delete round trip succeeds, and 500 otherwise.
The blueprint leaves healthCheckPath commented out, so Render only checks that the port answers. To have Render restart the service on a failing check, enable it on the Settings tab or uncomment the line in your copy of the blueprint:
services:
  - type: web
    name: emailengine
    runtime: node
    healthCheckPath: /health
    buildCommand: npm install --omit=dev
    startCommand: npm start
Scaling
Vertical Only
Move to a larger instance type under Settings > Instance Type; the service redeploys. EmailEngine keeps one IMAP connection open per account, so memory grows with the account count. Watch the Metrics tab and upgrade when memory stays high.
Keep the instance count at one. Two EmailEngine instances on the same Redis database each sync every account and compete for the same state. The blueprint pins numInstances: 1 for this reason. See Performance Tuning.
Redis Size
Redis holds all of EmailEngine's state, and with noeviction it refuses writes rather than dropping data when full. Upgrade the Redis plan before memory usage approaches the limit; the Redis service page shows current usage.
Monitoring
Logs
The Logs tab streams the JSON lines EmailEngine writes to stdout. EENGINE_LOG_LEVEL on the web service controls verbosity; see Logging.
Prometheus Metrics
GET /metrics on the service URL serves Prometheus metrics to a token that holds the metrics scope. Create the token under Integrations > Access Tokens in the admin interface, then:
curl -H "Authorization: Bearer YOUR_TOKEN" https://emailengine.example.com/metrics
See Monitoring for the metrics exposed.
Render Alerts
Render notifies on deploy failures and, when a health check path is set, on failed checks. Configure recipients under Settings > Notifications on the service.
Backup and Recovery
Everything EmailEngine knows lives in two places: the Redis database, and EENGINE_SECRET, which decrypts the credentials stored there.
Keep a copy of EENGINE_SECRET. The blueprint generates it with generateValue: true, so a service recreated from the blueprint gets a new secret and can no longer read the credentials in the old Redis data. Copy the value from the Environment tab and store it with your other secrets.
Back up Redis from a machine outside Render using the external connection string, which requires adding that machine's address to the Redis ipAllowList:
redis-cli -u rediss://red-xxxxxxxx:6379 --rdb ./emailengine-dump.rdb
To restore, create the services again, set EENGINE_SECRET to the saved value rather than letting Render generate one, load the RDB file into the new Redis instance, and point DNS at the new service.
See Also
- Deployment overview - The other hosting options
- Environment variables - Every variable the blueprint sets, and the rest
- Redis - What the managed Redis needs to provide
- Security - Hardening a hosted deployment
- Performance tuning - Sizing the service for the account count